You stopped short, and turned back to the mirror to admire that gorgeous pair of shoes one last time didn’t you? As you twist and turn your hip to view every inch of it, only one word kept popping into your mind – perfect. It seemed they were made just for you and that’s because they were; unlike the store bought shoes, you came directly to us, with the images in your mind to help bring the life of that lovely pair. However, have you ever stopped and wondered how that shoe that held the breath of Titi your used to be crush (who’s now your girlfriend) and also made you steal the show at Lanre’s birthday was made?
Luckily, we are here to give you an overview of how those shoes were made.
No, it’s not like Cinderella’s, it wasn’t cooked up by the flick of a wand, the shoe making process is a long, delicate and detailed one. In fact, counting the hours, it takes about a week (except our patina pairs) to complete a pair of shoes. Amazed? Well, what if I tell you it takes 68 – or maybe 390 different steps to make a pair? So you see that we pour our feelings into the work. Want me to impress you a little more? In this article we have successfully compiled those 390 steps into three phases, each with very few steps of their own for your comprehension? Now, let’s take a look – and by the way, you’re welcome!
Phase I: YOU
That’s right, you are the single factor that accounts for 50% of the entire shoemaking process. This phase consists of:
- The Talk: The shoe starts with your ideas, oral explanations, and the pictures you took somewhere. Then we have the responsibility of really listening (emphasis on the really) to you. We take sketches and try to represent all you’re saying to us in pictures, until we come to a mutual agreement on what the shoe you want does look like what you want.
- Material Selection: In this step, you, agree on the material best suited for the upper of the model about to be made, while considering your taste and pocket.
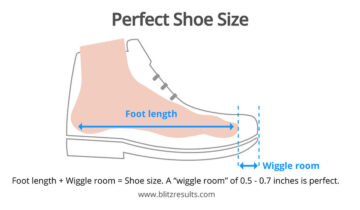
- Foot Measurement: The customer will also give us a measurement of his foot. This would come in handy when creating a last to mimic the customer’s foot to ensure the shoe is a perfect fit.
Phase II: WE
After all necessary conversations and negotiations have ended with the customer, we begin bringing this quality model to life. In order to achieve this, first we;
- Create a Last: A last is a mechanical form shaped like a human foot. It tries to mimic the customer’s foot in order to ensure the shoe is a perfect fit. It can be made of various materials ranging from cast iron, wood or even plastics.
- Transfer the model to a cardboard to minimise errors.
- Cut the template out of the cardboard.
- Cut the cardboard templates from the earlier selected leather.
- The leather is laid over the lasts and the sewing begins.
- Fill in the wooden shank and the back support.
- Apply the sole; stitch the welt and leather sole together so it looks more like a shoe.
- Put on the heel. It is built out of single layers of leather. They are cut in shape, sand with glass and then burn with hot iron to seal up the pores.
- Pull out the last.
- Brand with our logo.
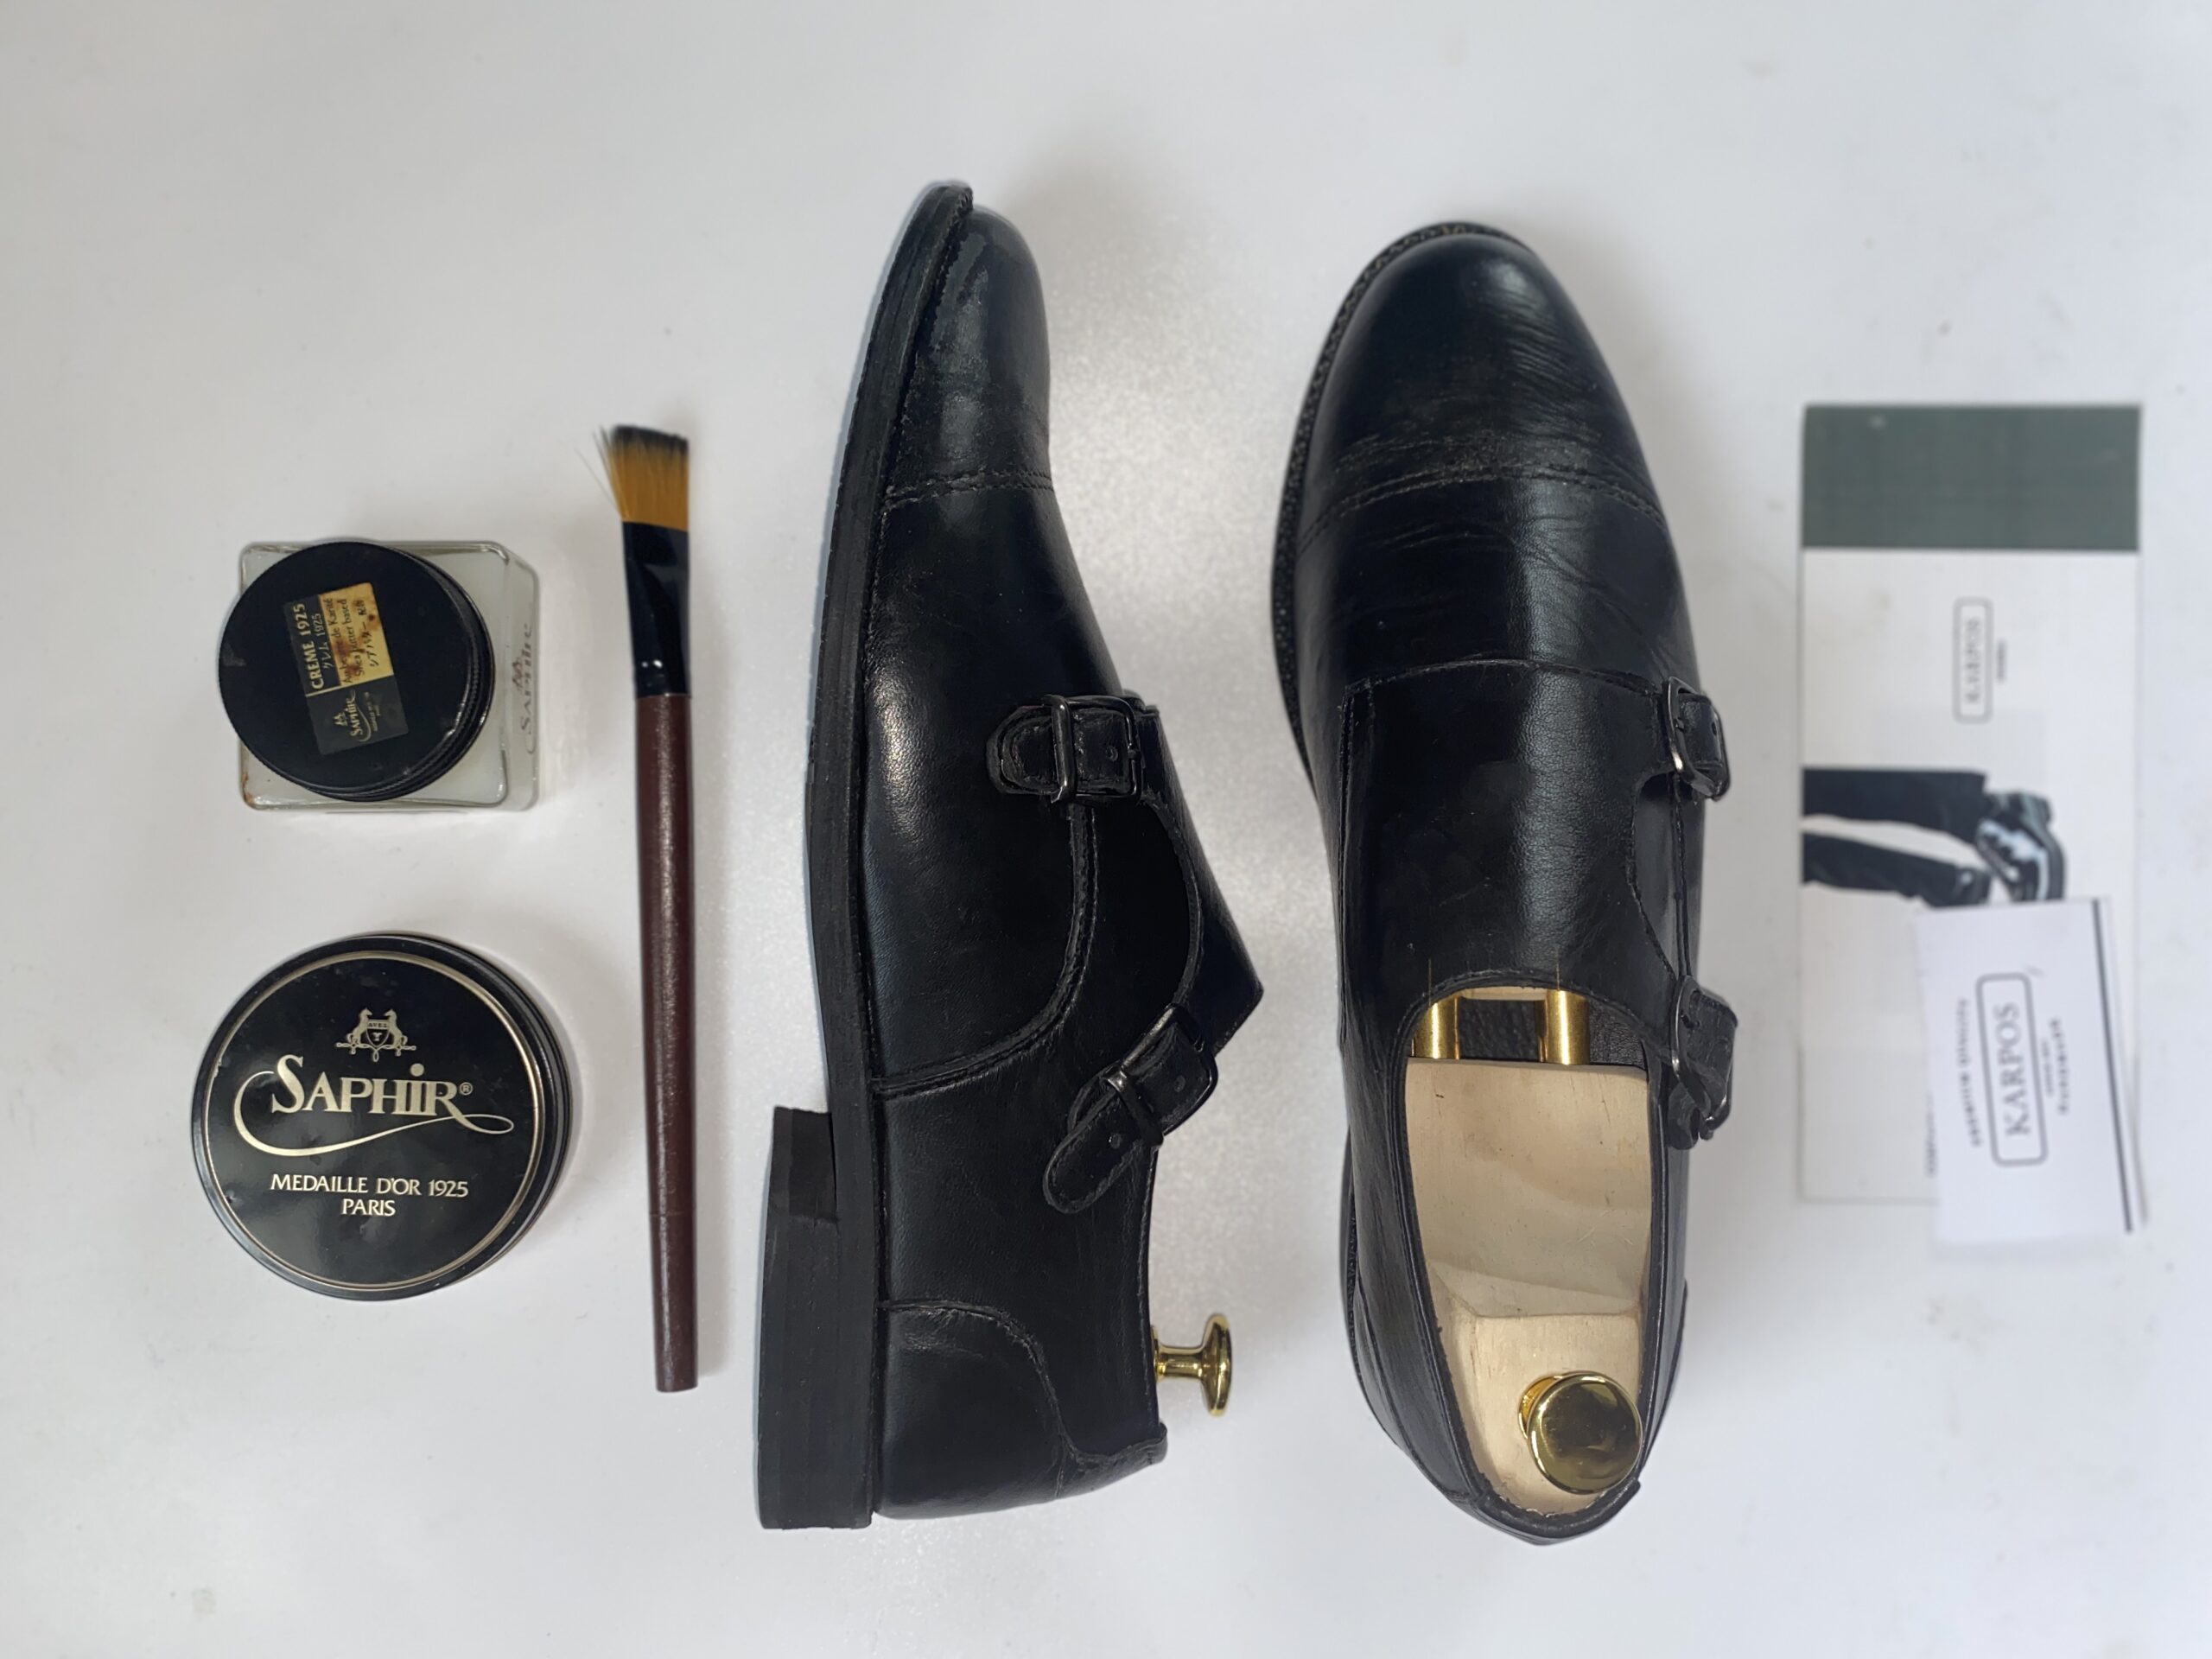
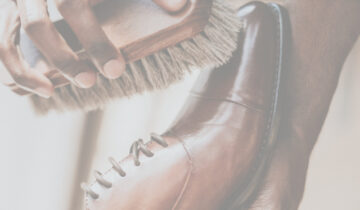
- Shine with wax.
- A final quality check is done on the pair.
Phase III: US
This phase is the best part of the work. In this phase, the customer as well as us, feel anxiety while both hoping for the same thing – a dazzling and fitting shoe. It is the most beautiful part of the process; the moment the customer tries on the shoe and they’re perfect…. nothing beats that feeling.
The shoes are then packaged and officially handed or delivered to the client.


 No products in the cart.